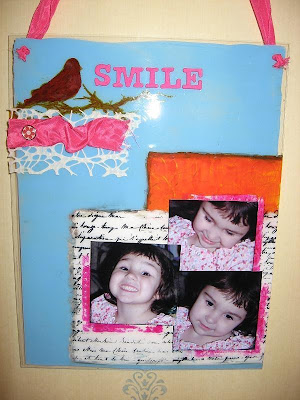
First I started with a clear acrylic A4 sheet bought at the Dollhouse store. First I place my pictures on the acrylic sheet to determine the placement of the elements. Once placed I took a piece of Cut n dry foam about the same size as the photos and stamped slightly shifted from where they would be placed using Stazon red(yes it came out pink). To create the texture on the stamp poke holes evenly using a piercer.
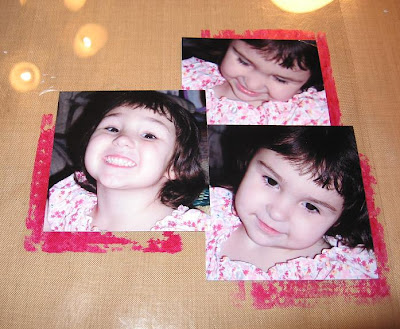
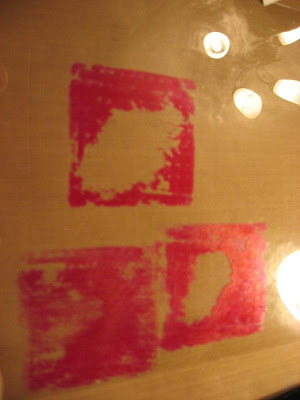 Next check to be sure the photos will lay as desired. If not you can always use Alcohol blending solution to clean your sheet and start over. Do not glue pictures down yet.
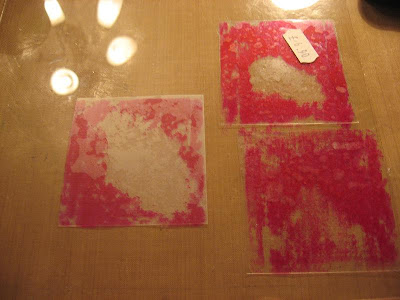
 Next create a mask for the 3 blocks. I used scraps of plastic packaging. Just cut to size and spritz with water then lay in place over blocks.
 Now stamp the bird in top corner using Stazon brown and the script using Stazon Black at the bottom where you would like the first page to be. Just stamp over the blocks as they are masked. The stazon may stick to the mask, just replace it as needed. (stazon can be sticky)
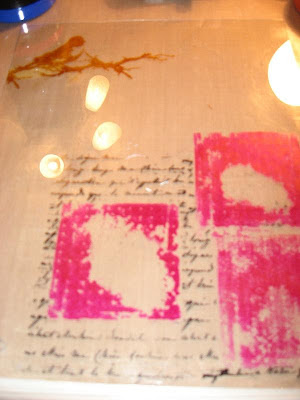 Now turn over the sheet and using white acrylic paint cover the scripted area. I used Dylusions white acrylic paint. Paint the bird in also using red acrylic from Dylusions.
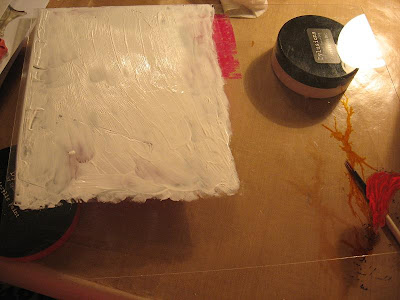
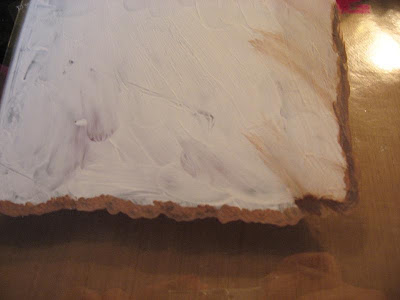
Next I mixed a bit of Walnut and black soot re-inkers with some white paint and ran along the edges of the white. Once dry wipe backwards lightly from edge going in with a baby wipe to create a distressed edge.
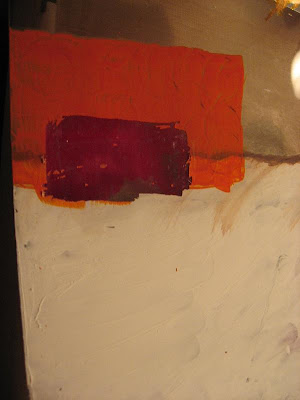
Now I added the orange Dylusions paint as another sheet also on the back of the sheet. Using a cap I created texture circles in the paint while still wet. Once dry do the same edging technique as shown above. the orange section will appear as behind the white script sheet.
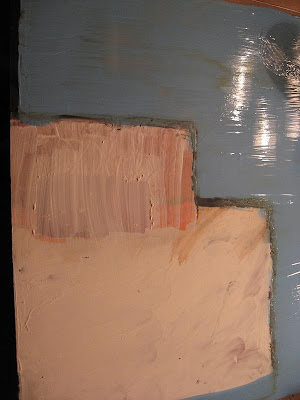
final paint step is to add the blue acrylic to the back completely covering all the other space on the page to about 1/8 of the edge of the edge.


2 comments:
Great tutorial Angela, great end result. :-) xx
Thanks for always sharing! I have a blog award waiting for you.
Hugz, Z
Post a Comment